Tips for Choosing a Backyard Landscaping Design

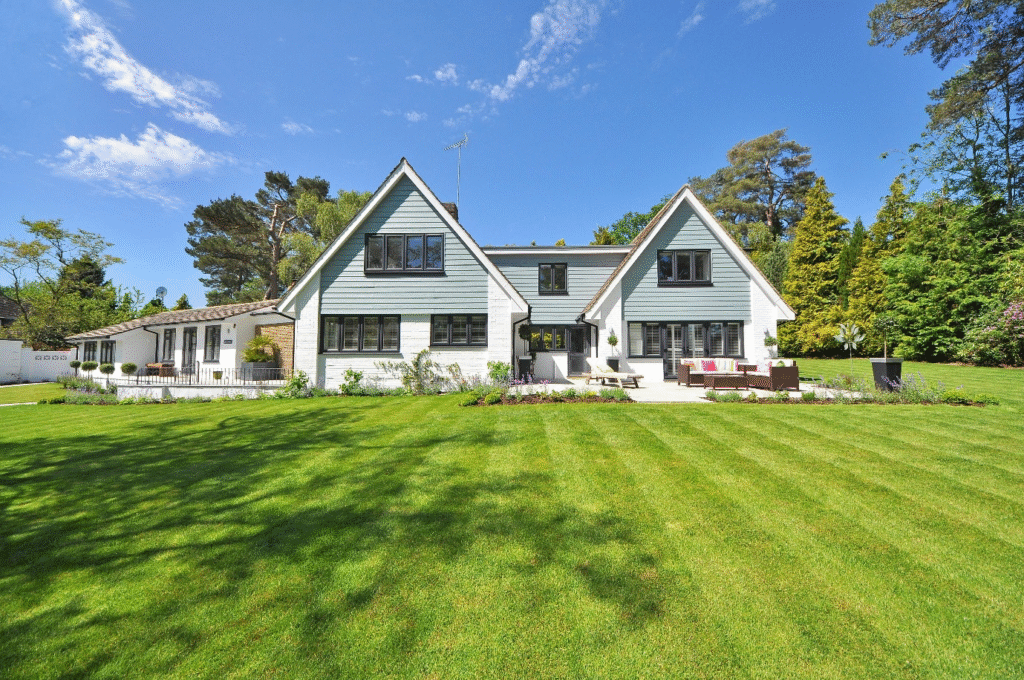
Backyard landscaping design is not just about arranging plants – it’s about being creative about what you want and making it aesthetically pleasing yet functional. It’s about giving your backyard a personality to make it lively and attractive. Picking a backyard landscaping design is also a chance for you to connect with nature and the right landscaping designs, materials, planning and layout, can transform your backyard into an outdoor retreat.

Layout

Begin with a clear purpose. Establish your needs for the space, what purpose you want it to serve and how you want it to look. Ultimately your needs will affect the type of landscaping design you settle for your backyard. After establishing your purpose, proceed to create a layout. Paths, zones and visual balance will be a tell tell on how to structure the space. If, for example, you want a lounging area, some greenery and dining space, dividing the yard into zones can help achieve this look making your space appear organized and appealing.

Plant Selection

The plant selection process for your backyard landscaping design is very crucial. Having different plant varieties such as trees, shrubs, and perennials will help to create layers. Using native plants can be advantageous as they require little maintenance and they also support the local ecosystem. For a smaller yard, consider using living walls to add onto the height and maximize on the space. Incorporating mulch and relevant irrigation systems promote their sustainability.

Hardscaping

While defining your backyard landscaping design, hardscaping plays a huge role. Use the following to achieve structure and style:

  • Retaining walls
  • Fire pits
  • Garden beds
  • Pergolas
  • Patios
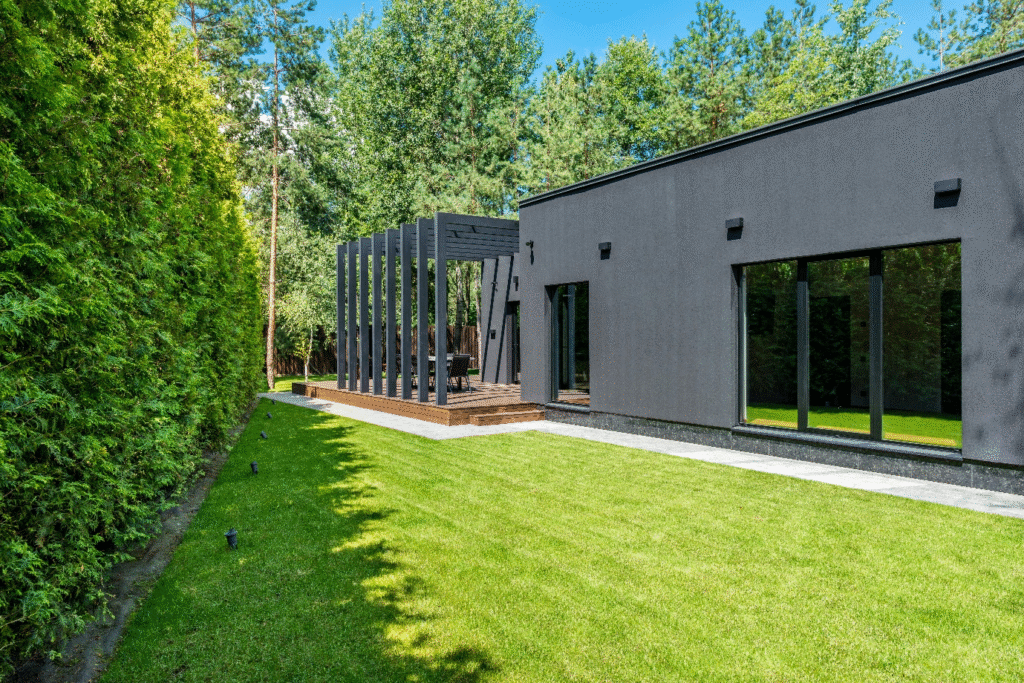
Exterior of gray house along with some backyard landscaping and a pergola

If done right, hardscaping, adds onto the overall elegance of your outdoor space and its functionality. Some features, like a pergola or a deck, can have stains applied with semi-transparent, or semi-solid stains applied to the wood and make for very attractive and complimentary colours against the backdrop of your other features. One such amazing company with exterior painting and staining in Ontario, Canada is Chatham Pro Painters. By staining exterior wood, not only do you add colour, but also longevity. A blend of hard materials with softscapes, such as lawns or mulch ensure a balanced look while providing a seamless landscaping design for the backyard. It is vital that durability of the materials used is considered, as it ensures its longevity to not require frequent rebuilding every couple years.

Lighting

String lighting in a backyard

Another vital component in backyard landscaping is proper lighting. If done right, it extends the usability of your backyard into the evenings, adding on to the safety of your space. Using a mix of wall sconces and string lights can help achieve a warm, inviting atmosphere.

Final Thoughts

In order to achieve a suitable space, follow backyard landscaping design principles and if unsure of what to do, consult a professional. Practices such as composting and rainwater harvesting contributes to creating a sustainable eco-friendly backyard. When correctly planned and executed, backyard landscaping designs can turn plain outdoor space into a personal sanctuary.  Through perfect blending of functionality with beauty, you can create a versatile space that adds value to your home and as a result improving the quality of your life. There’s always a perfect design solution to meet your needs and meet your satisfaction.
Simple Deck Construction

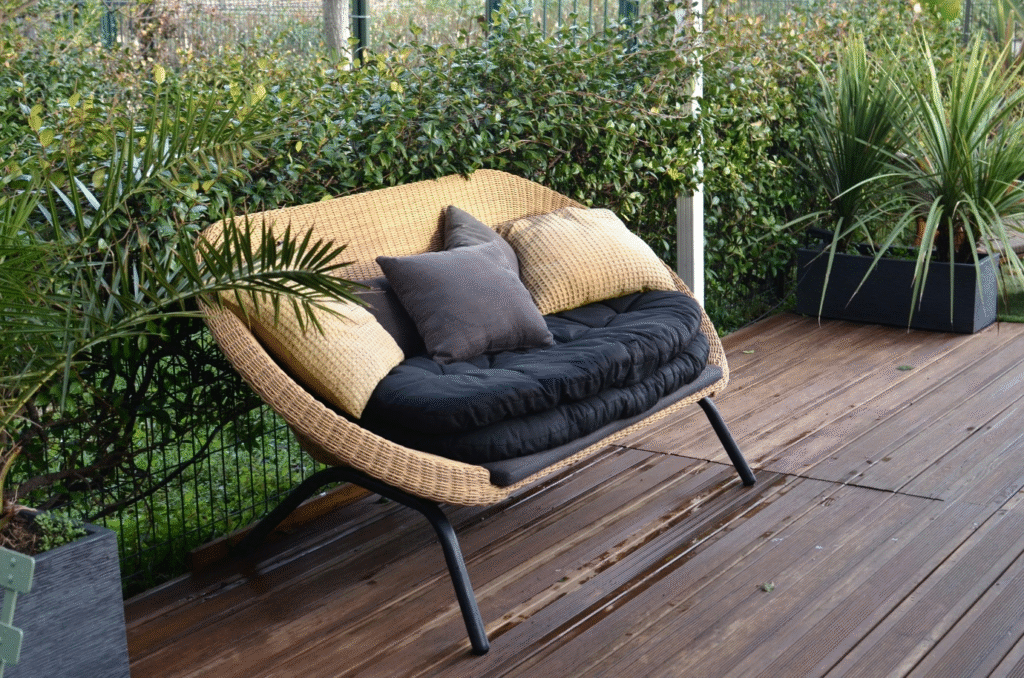
Wicker love seat on a simple deck

Weekends can sometimes be boring, and on such days, nothing beats relaxing at your backyard deck with your loved ones. If you do not have one yet, here is a step-by-step guide on how to build a simple deck for your backyard using basic tools perfect for beginners.

Construction Materials

  • Pressure-treated Lumber: The tool will be used for the frame and deck surfaces as it is rot resistant making it a perfect fit for outdoor usage.
  • Concrete Deck Blocks: A concrete deck block would serve as the foundation of the deck. It is also used to support the joists and keeping the wood off the ground to create airflow which prevents moisture buildup
  • Drill: The drill is a very crucial tool in the construction process as it is used to secure the drive decks into the wood and on other occasion to prevent splitting to drill pilot holes.
  • Level: A level is used to ensure the deck is even for stability purposes and to also ensure that the deck is properly sloped for proper drainage. The use of a level is essential as it guarantees the safety and appearance of the deck.
  • Tape Measure: The tape measure will be used together with the level to accurately measure the spacing of the deck, the length of the lumber and the placement of the boards.
  • Gravel: Like the above tools, the gravel is a necessity. Since the deck is placed very closed to the ground, there’s limited airflow. The use of a gravel will ensure proper drainage and stability by preventing the blocks from sinking or shifting.

Step-by-Step Guide to Simple Deck Construction

1. Choose the Location.

As trivial as this might seem, choosing the right location for deck construction is essential. Pick a flat, stable surface in your yard, clear the ground from any dirt, grass, rocks or debris.

2. Lay the Foundation

  • Place the concrete deck blocks directly on the ground
  • Space them evenly where the corners and midpoints of the deck will be placed
  • For proper drainage, lay a gravel beneath

3. Build the Frame

  • Use pressure-treated boards to create the frame. Ideally 2*8 or 2*6 boards are used.
  • With the screws join the corners securely.
  • Add joists across the frame with the spacing of 16inches apart from each other for support.
  • Include blocking or bridging between the joists for additional stability

4. Level the Frame

  • Set the frames on the deck blocks.
  • With the use of a level, make sure the surface is even.
  • Adjust block heights if needed.

5. Install Deck Boards

  • Lay the deck boards perpendicular to the joists
  • Leave an allowance of about half inch between the boards for drainage
  • Finally screw the boards securely, sand off any rough edges and apply a wood sealant for protection against weathering.

In simple deck construction, the pressure-treated lumber ensures the durability of the structure while the concrete deck blocks offer a stable foundation. Tools such as level, screws and drill will ensure the boards are securely attached offering firmness. The contribution of the gravel cannot be forgotten as it improves drainage. Together this materials help build a long-lasting deck that is aesthetically pleasing while also functional and durable.   

Floating Deck Framing: What You Need to Know

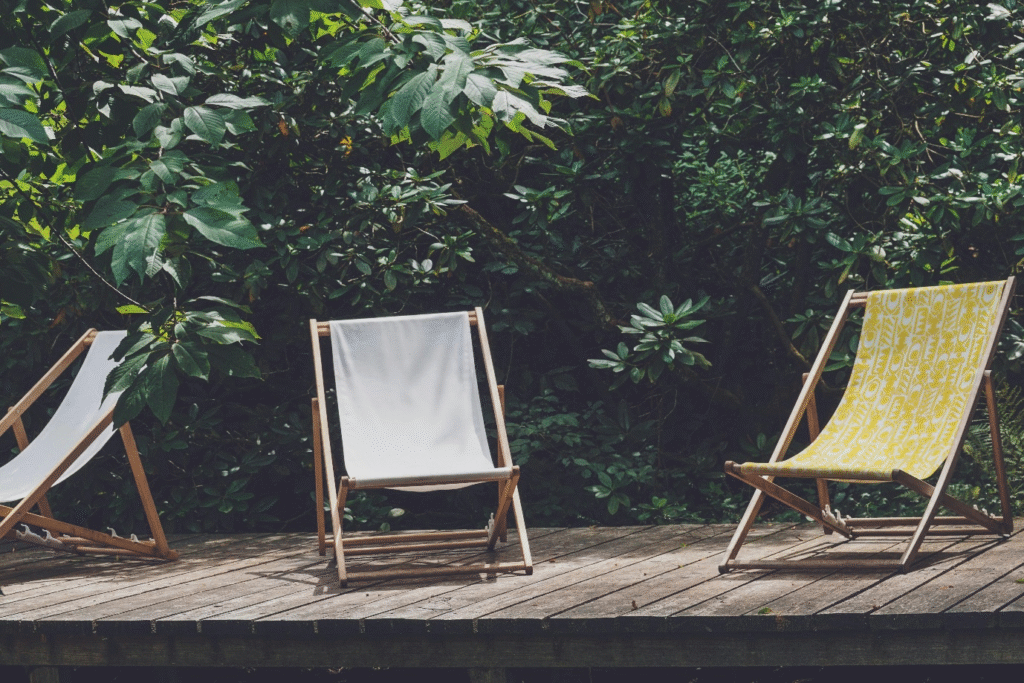
Floating deck with lounge beach chairs.

Are you a homeowner or DIY enthusiast looking to revamp your outdoor space but unsure how to go about it? Floating deck framing is a perfect way to improve your compound. Basically, floating deck construction entails the framework of building decks, typically not attached to the building, in a manner that allows them to ‘float’ on the ground. The structure is achieved by using deck blocks, pavers, or piers, to create a freestanding platform.

Concrete Deck Blocks or Pavers

deally pavers are used as the base of the structure. Pavers ensure the even distribution of the weight, and while giving support, also keeps it from direct contact with soil. This could otherwise cause rotting of the framework. Not what we want! Concrete deck blocks are preferred because they hold standard lumber sizes which ensures added stability. When placing concrete deck blocks, it is crucial that the ground is levelled and if possible covered in a landscaping fabric to prevent weeds from growing while also promoting drainage.

Joists

With the base ready, the frames can now be built. Typically, 2*8s pressure-treated lumber is used in creating the frame. A resource such as www.engineeringtoolbox.com or your local building code will let you know the maximum span limits you can do, without supports. Usually! Usually, depending on which wood you choose, the common spans are 12-14, even 15 feet. It is common for homeowner DIY’ers to put supports every 4, or 6 or 8 feet for a nice solid feeling base. The horizontal beams, which are the joists, are then spaced by 16 inches of each other parallel to the length of the deck. The ends of the joists will then be supported by rim joists in order to increase stability. Short perpendicular boards are placed between the joists, a process called blocking or bridging. Blocking allows for added rigidity of the frames as well as preventing any possibility of twisting which alters stability. It essential that the frame is square and levelled evenly to ensure the durability of the deck in the long term.

Deck Boards

Decking boards are essentially the surface to walk on. The process is achieved by laying them perpendicular to the joists, securing them with screws or fasteners. If budget allows a little bit of splurging, preferably using hidden fasteners! While they are somewhat more expensive than regular deck screws, they minimize chances of movement over time and they also look a little nicer. Due to factors of expansion and water drainage, it is crucial that there’s an allowance for spacing between the boards. For the decking boards, materials such as redwood, cedar or composite decking may be used.

Maintenance of Floating Decks

Constructing a floating deck is simple, but in order to ensure durability, it’s important to observe its maintenance needs. Since the floating decks are constructed to lay low to the ground, they tend to limit airflow which leads to moisture buildup and eventually wood rot. Therefore, a simple use of a gravel or pavers, can help adequate spacing off the ground and thus prevent rotting.

Among the many merits of floating deck framing, is that they are versatile. This means that they can be created in different shapes or sizes and since they are not permanent structures, they can be moved depending on preference. These structures also provide a beautiful aesthetics making the home unique and attractive as they enhance your outdoor space.

Final Thoughts

In conclusion, floating deck framing requires careful planning and the use of key components such as concrete deck blocks, joists, pressure-treated lumber and decking boards. These elements play a crucial role in maintaining stability, durability, and most importantly its long-term functionality. Regular maintenance also helps in achieving longevity and can be done by cleaning regularly, inspection of wears and tear and applying the relevant sealant. With proper care and maintenance, floating decks can provide long term enjoyment of your space.

5 Brilliant Fire Pit Design Ideas for Small Spaces

Firepit with 4 chairs

Having a smaller backyard isn’t an excuse to miss out on creative ideas such fire pit design. Whether you are in an apartment with just a balcony, or a townhouse with very little yard space, there are fire pit design solutions to suit your needs. Therefore, with correct planning and space, you can transform your area into a cozy and functional spot suitable for relaxing and warmth.

Portable Fire Pit

One of the many suitable fire pit design options is portable fire pit. As the name suggests, the item can be moved around according to your preferences, as they are light in weight and are suitable for areas such as balconies, patios or any area that do not accommodate for permanent structure installation. Depending on your taste, you can get them in various styles such as chimneys or metal bowls. An additional advantage of this type of fire pit design is that they can be stored away when not in use, freeing up valuable space.

Tabletop Fire Pits

This kind of fire pit design are perfect for tight quarters. As said earlier, small spaces do not limit you from having the luxury of a fire pit design. These models run on ethanol or gel and can be placed on something as simple as an outdoor table. Although they do not generate as much heat as the traditional fire pits, they still offer a warm ambiance to your space. If you are looking into creating a warm, intimate environment for cold winter days, then this type of fire pit design is perfect for your quarters.

Built-In Corner Fire Pit

If, however, you are not pleased with the portable fire pit design and the tabletop design, and are looking for a more permanent structure , then built-in corner fire pit is perfect for you. By simply tucking the fire pit into the corner of your patio, you can maximise usable space and enjoy a customized built-in fire pit that meets your satisfaction. Materials such as brick, stone or pavers are used for a mini-ground or a raised fire pit depending on your preference while also matching the existing hardscape.

Wall-Mounted Fire Pit

If you have a narrow patio or courtyard, the wall-mounted fire pit design is a more suitable fit. This type of fire pit design adds on to the vertical visual interest while maintaining the openness of the floor area. They use ethanol or gas and create a clean look using minimal space while stile providing a warm, cozy feel.

Multifunctional Fire Pit

By now you are convinced that small spaces are not a limitation to enjoying fire pit designs, and while the above options are suitable, multifunctional fire pits can be a game changer. As they come in different designs, for a small space, look for a fire pit design that doubles as a table when not in use. This fire pit design enables to you to host and serve drinks using the surface by the day and when it gets chilly, a fire pit. This type of fire pit design, saves on space and is very versatile.

Final Thoughts

In conclusion, a limited space doesn’t mean limited luxury when it comes to fire pit designs. From portables structures to more permanent designs, the options are vast thus suitable for small spaces. The right approach and design, can magnify your space into a warm, welcoming irresistible environment.